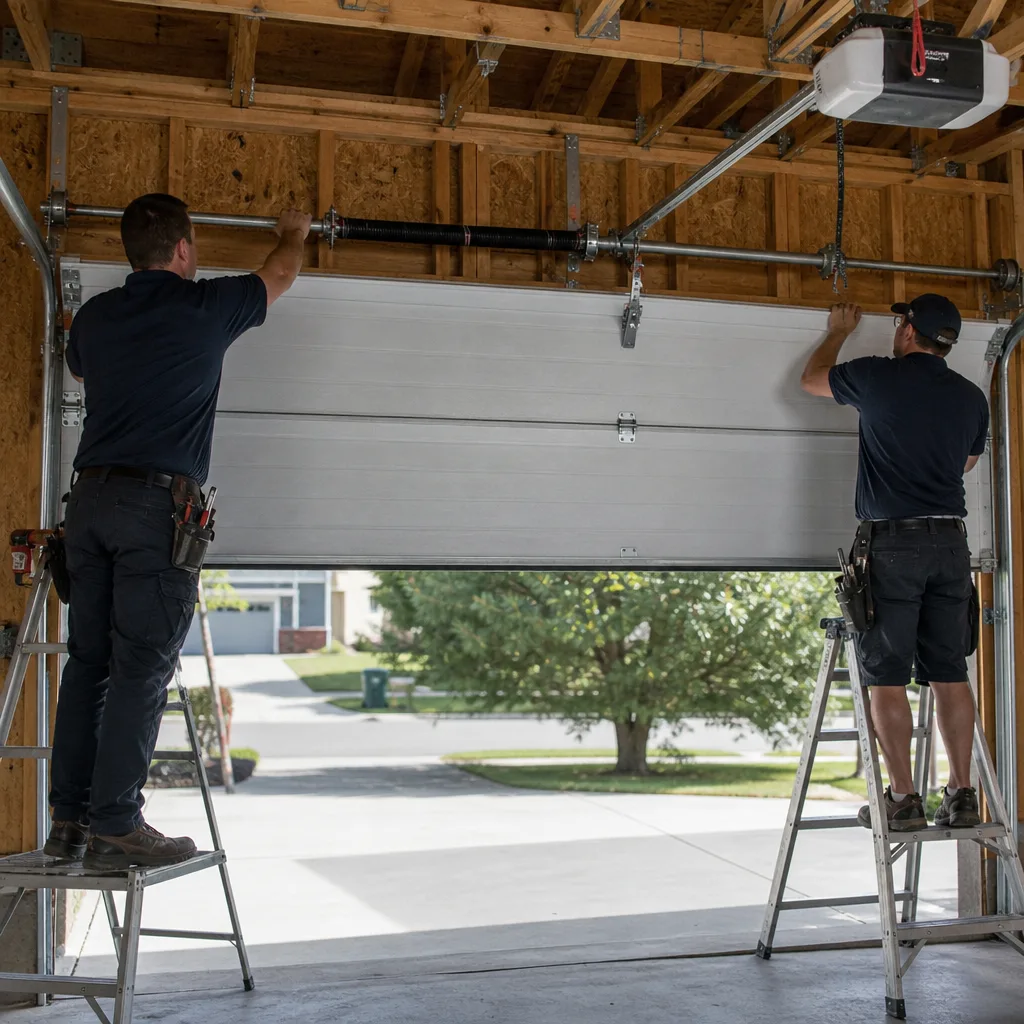
Last updated November 21, 2026
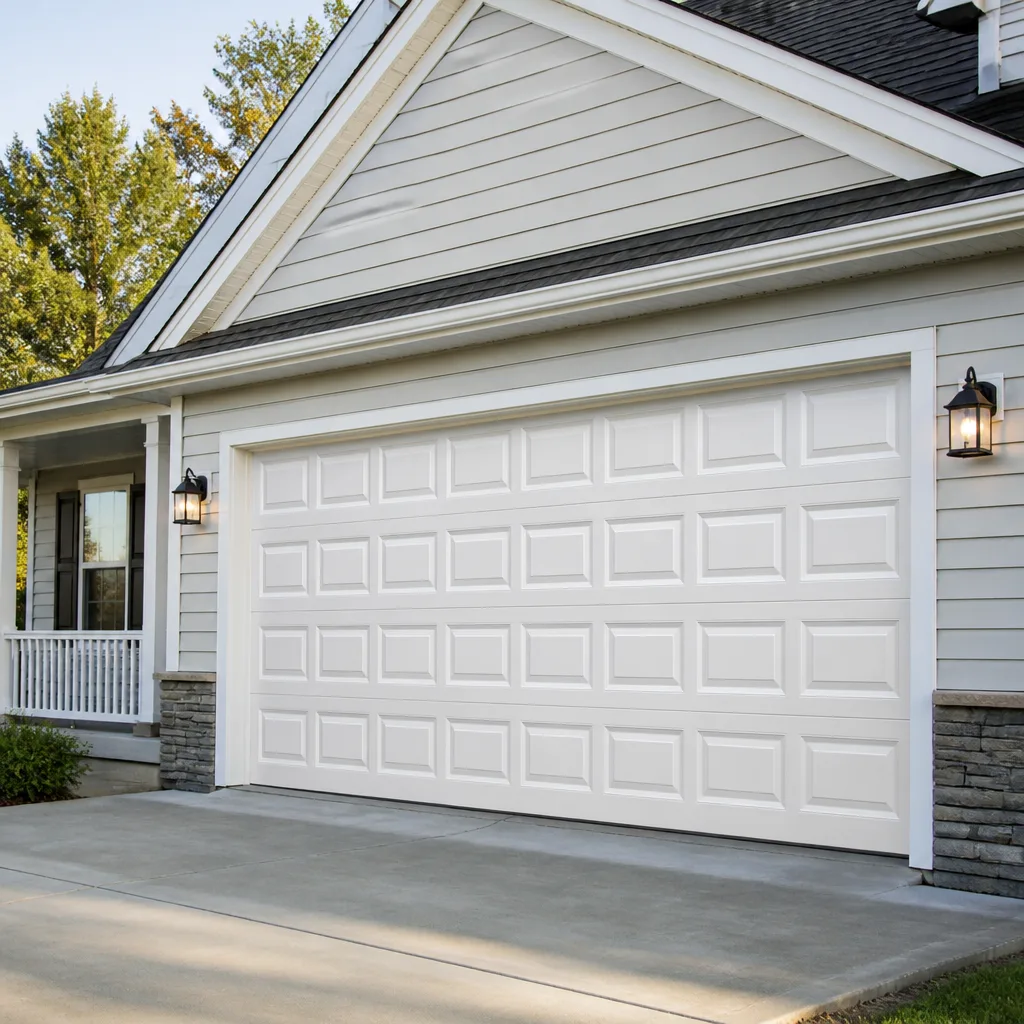 Raised-panel steel
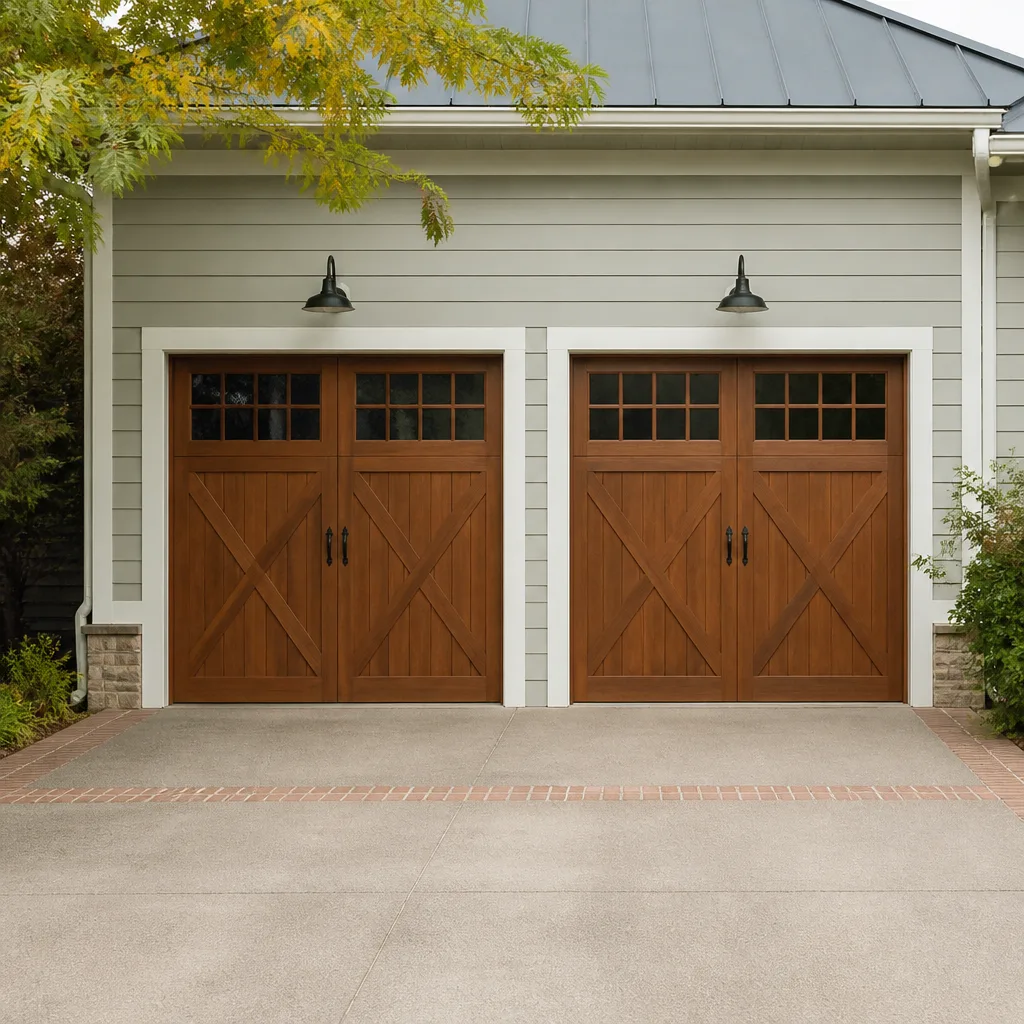 Carriage house
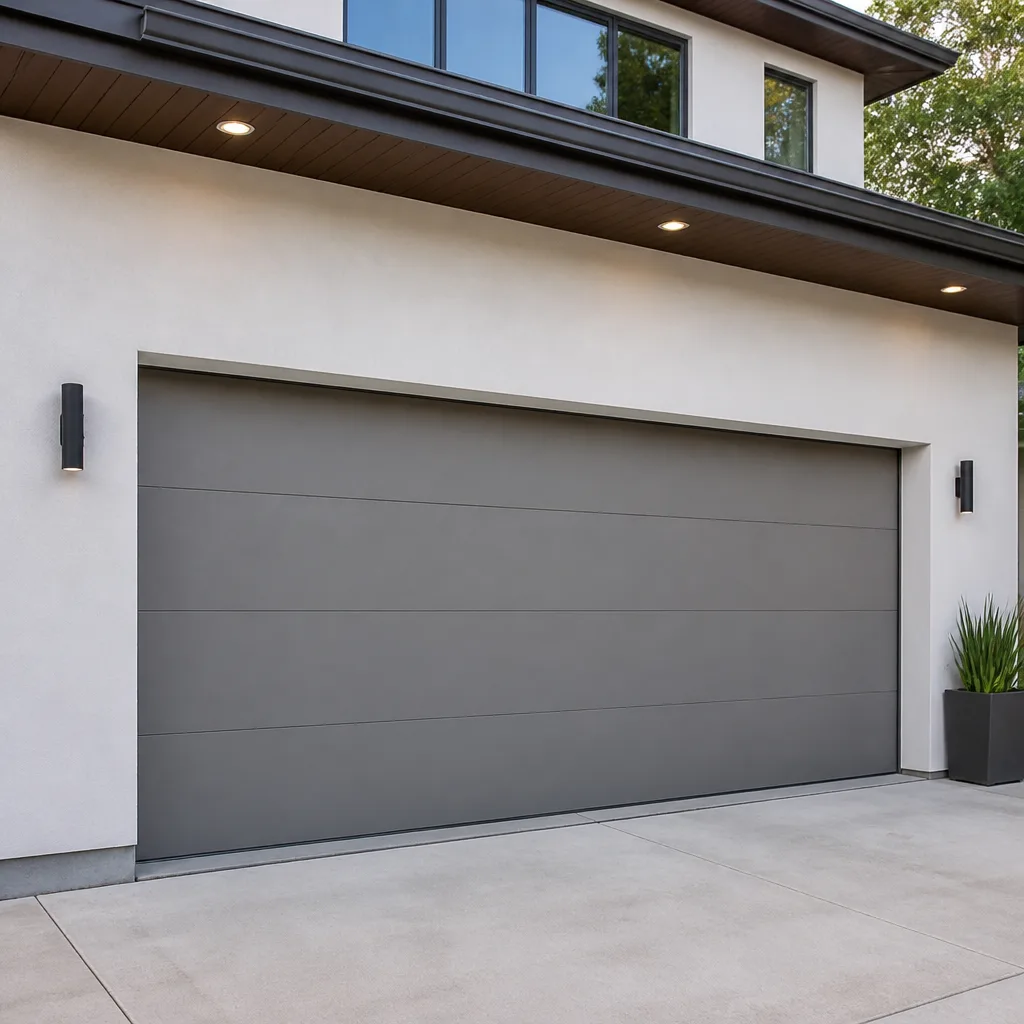 Modern flush
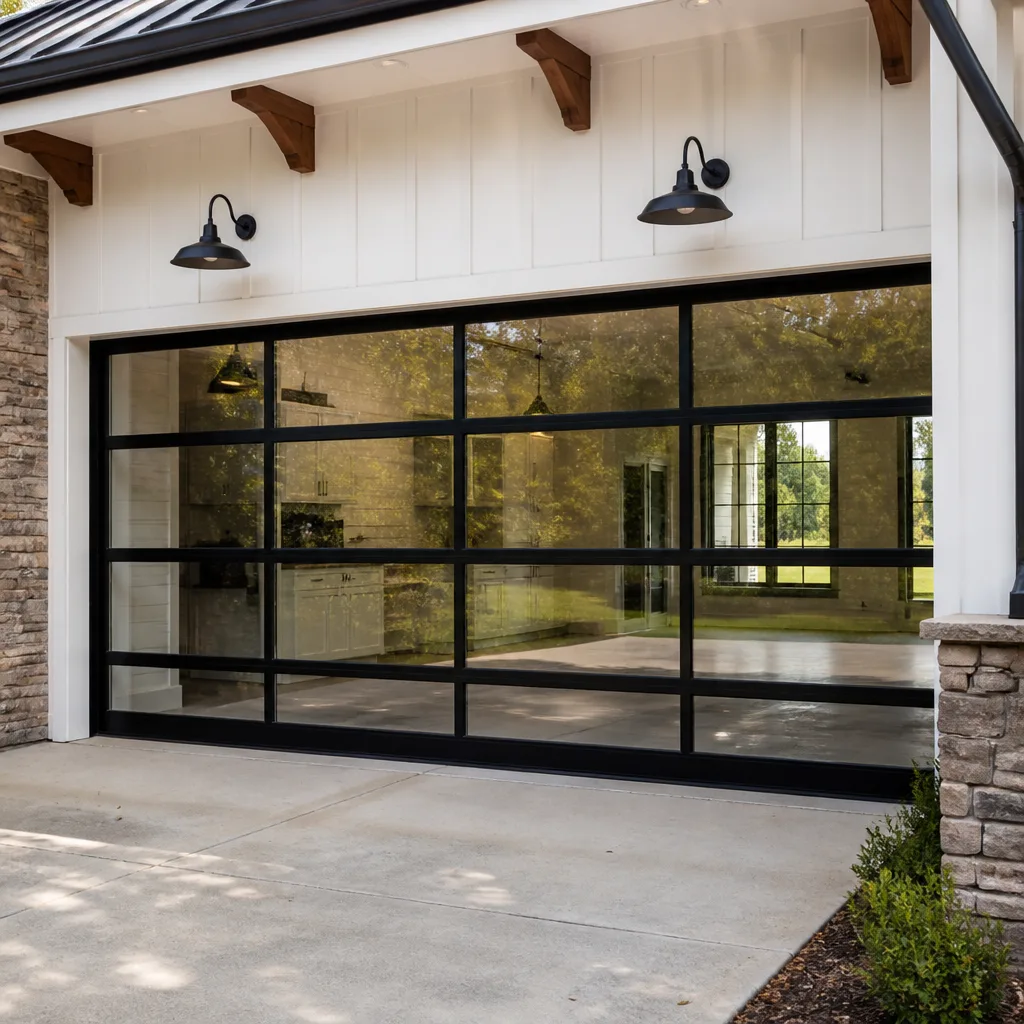 Full-view glass
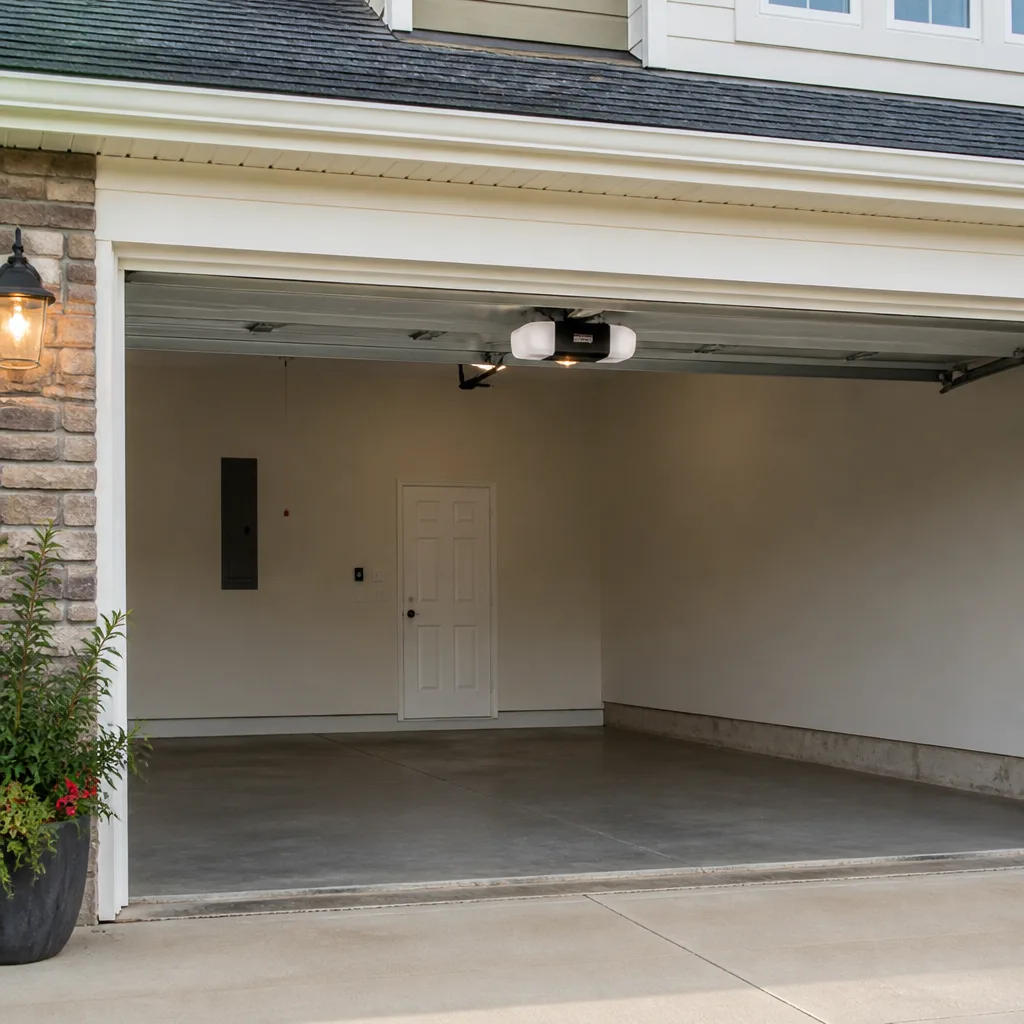 LiftMaster openers
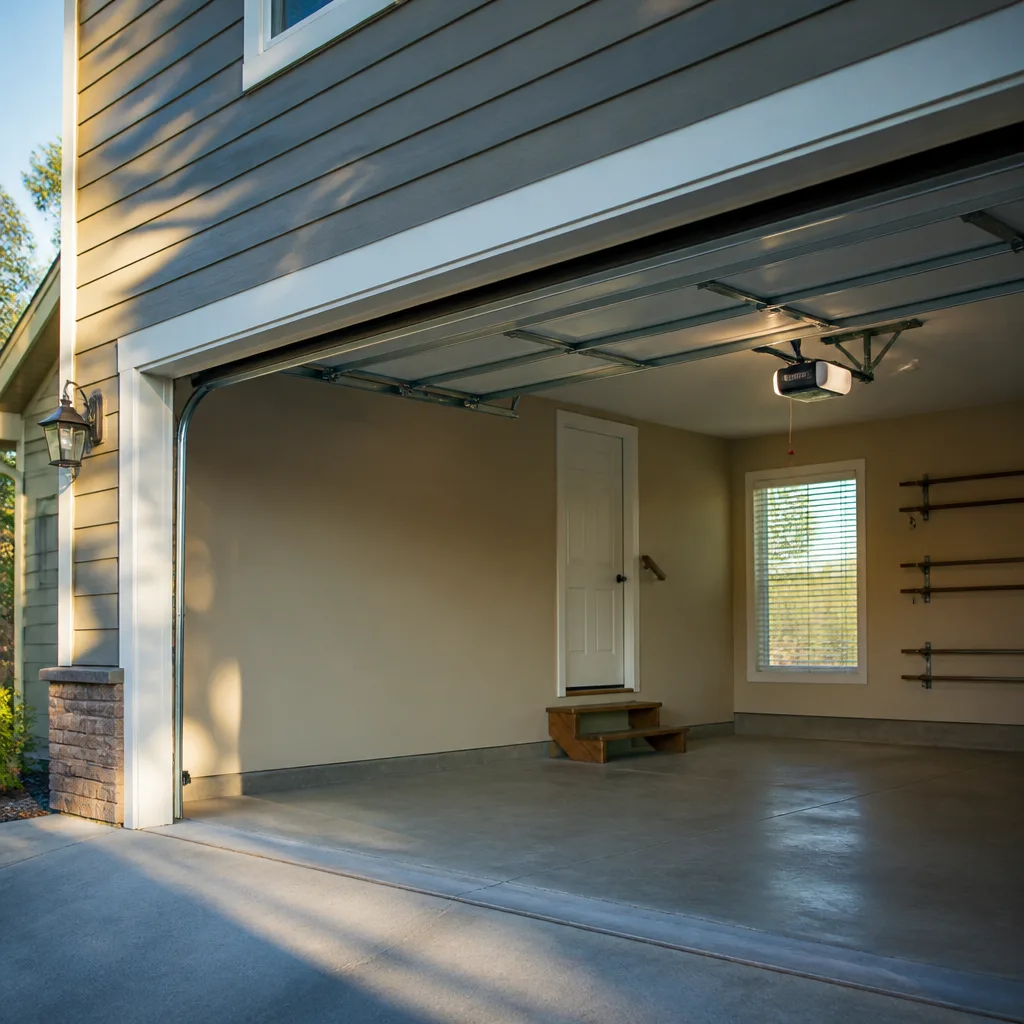 Chamberlain openers
Full 25-point door and opener safety check with every visit - springs, cables, rollers, tracks, and your LiftMaster or Chamberlain opener included
You get a price before we start. It does not change when the pro arrives.
Get your free estimateGarage Door Repair Maintenance Checklist for Polaris Homeowners
Most garage door problems don’t announce themselves with a bang. They whisper first: a slightly heavier lift on one side, a pop that’s a little louder than it was last month, a thin sliver of daylight under the bottom seal. In our experience, the springs that fail are rarely the ones that gave no warning at all; they’re the ones where a warning showed up weeks earlier and nobody knew what it meant. A checklist that just says “inspect springs” doesn’t help. This guide gives Polaris homeowners the actual sensory cues we look and listen for, so a $150 tune-up doesn’t turn into a $600 emergency call.
Quick Answer
To maintain a garage door in Polaris, check the balance, spring tension, bottom seal, and safety reverse monthly, lubricate hinges, rollers, and springs each season, and book a professional tune-up once a year. In Ohio’s freeze-thaw winters and hot, humid summers, the parts that fail first are spring coils, bottom seals, and steel hinges, so leaning your attention there pays off. Most serious problems give you three to six weeks of warnings before they fail completely.
Styles & brands we work with
- Raised-panel steel
- Carriage house
- Modern flush
- Full-view glass
- LiftMaster openers
- Chamberlain openers
Table of Contents
- What a Healthy Torsion Spring Looks Like (and What “Losing Tension” Actually Means)
- The Two-Minute Balance Test
- The Dollar Bill Test and Why Gaps Matter More in an Ohio Winter
- Testing Auto-Reverse Force in Under 60 Seconds
- Lubrication: What Actually Matters and What to Skip
- A Monthly, Seasonal, and Annual Schedule for Polaris Weather
- Opener Checks Worth Doing Every Season
- Sounds, Feels, and Smells: The Sensory Warning Chart
What a Healthy Torsion Spring Looks Like (and What “Losing Tension” Actually Means)
A torsion spring doing its job looks almost boring. The coil is tight, even, and consistent from one end to the other, with no gaps between individual coils. The springs mount on a steel shaft above the door, wound in opposite directions on a properly installed pair. When you look up at a healthy spring in a Polaris garage, you should see continuous, tightly packed steel with no daylight showing through the coil.
A spring losing tension tells you in three ways:
- Visible gaps in the coil. If you can see space between individual coils, the spring has either slipped off its winding or is relaxing. A gap appearing weeks before a break is one of the clearest warning signs we see.
- Uneven lift on one side. Stand in the middle of the garage and watch the door open. It should rise at exactly the same rate on both sides. If one side lags or the door twists slightly, one spring is carrying less than the other.
- A louder pop or snap at the top of the travel. Springs make noise, but the pop at full open should sound roughly the same every time. If it’s getting louder, the spring is doing more work than it should.
Never touch a torsion spring or its winding cones. These components are under extreme tension, and a single wrong move with the wrong tool can cause serious injury. This is high-tension work that requires specific training and tools, which is exactly why we treat spring replacement as a core specialty rather than a side job. If you suspect a spring is losing tension, stop using the door and get a trained professional to look at it.
The Two-Minute Balance Test
Balance is the simplest test you can run, and it tells you more about your door’s health than almost anything else. A balanced door moves easily by hand and stays where you leave it. An unbalanced one either sags under its own weight or fights to climb.
- Disconnect the opener using the emergency release cord. This lets you feel the door’s weight without the motor helping.
- Lift the door to about half open by hand. It should feel like a steady, even weight, not a sudden heave.
- Let it go at the halfway point. A balanced door will hold roughly where you left it, maybe drifting slightly.
- If the door drops fast, the springs are not carrying enough. If it rises on its own, they’re carrying too much.
- Reconnect the opener only after the door is balanced.
If the door passes, you’re done. If it fails either test, don’t run the door until it’s looked at. We’ve seen doors that were just “a little heavy” for weeks before a spring let go. Running a heavy door shortens opener life and puts more stress on the cables, hinges, and rollers.
The Dollar Bill Test and Why Gaps Matter More in an Ohio Winter
The bottom seal is the rubber strip along the bottom of your door. It’s cheap to replace and easy to overlook. The dollar bill test tells you whether it’s actually sealing.
- Close the door fully.
- Slide a dollar bill (or any thin piece of paper) under the seal at several points along the width of the door.
- Pull gently. If the bill slides out freely, you have a gap. If it takes a little resistance, the seal is doing its job.
- Test both ends and the middle. A seal that’s good in one spot and loose in another still lets in air.
Why does this matter more here than in most places? Polaris winters combine freezing nights with daytime thaws, and that freeze-thaw cycle works on a stiff, aging seal. Water gets into the gap, freezes, and widens it. Cold air pours in under the door, and your garage becomes a cold storage room that bleeds heat from the house behind it. In summer, the same gap lets in humidity and insects. The seal should feel soft and pliable, not hard and cracked. If it’s brittle, it’s done.
Testing Auto-Reverse Force in Under 60 Seconds
Auto-reverse is a safety system, and it needs checking more often than most homeowners do it. Every garage door opener sold in the US since 1993 has been required to have it. When the door meets an object, it should reverse immediately. When the safety sensors near the floor are blocked, the door should stop and reverse instead of closing on anyone.
- Stand in the garage with the door open and a clear path behind you.
- Place a flat object like a roll of paper towels under the closing door.
- Press the close button. The door should touch the object and reverse without much pressure.
- Then block one of the safety sensors near the floor with your body or an object. The door should refuse to close, or reverse if already moving.
If the door pushes hard before reversing, refuses to reverse at all, or closes despite an object underneath, stop using it and call for service. That test takes under a minute and it’s the one we want every Polaris homeowner to run monthly. Openers from LiftMaster and Genie both have a force adjustment knob or setting, but tweaking it is not a DIY fix. Get a trained technician to set it correctly.
Lubrication: What Actually Matters and What to Skip
Most lubrication videos online give you a list long enough to make you give up. Here’s the short version for what actually matters in a Polaris garage.
Lubricate these:
- Hinges at the pivot points, using a light spray lubricant. Two or three short bursts per hinge.
- Rollers and their stems, with the same spray. If your rollers are nylon, silicone spray is the better choice.
- The torsion spring itself, if it’s a steel coil with a visible gap. A light coat of the right lubricant slows rust.
- The opener’s drive chain or screw, following the opener manufacturer’s guidance. LiftMaster and Chamberlain both publish their own lubricant recommendations for their drive systems.
Skip this:
- WD-40 on hinges and rollers. WD-40 is a water displacer, not a long-term lubricant. It’ll work for a week and then attract dust.
- Grease on nylon rollers. Grease attracts grit and shortens roller life.
- The track itself. Lubricating the track attracts dust and creates a paste that slows the door. Keep it clean instead.
- The springs if they’re already oily or greased. Adding more doesn’t help.
Ohio temperature swings mean the lubricant you use needs to stay pliable on a 10°F morning and not run off on a 95°F afternoon. A quality garage-door-specific spray lubricant handles both temperatures better than general-purpose oil.
A Monthly, Seasonal, and Annual Schedule for Polaris Weather
Generic checklists say “inspect monthly” without saying what to look for. Here’s what we recommend instead, tied to what the Polaris climate actually puts your door through.
Monthly
- Run the balance test (two minutes).
- Run the auto-reverse test (under a minute).
- Look at the spring coils for gaps or rust streaks.
- Do a quick visual check of the bottom seal.
Every Season
- Fall: This is the most important season for Polaris. Check seals thoroughly before freezing weather, lubricate hinges and rollers, and listen for a change in the door’s sound. Freeze-thaw starts stressing hardware on the first hard frost.
- Winter: Keep the door clear of snow piled at the bottom seal, and check the seal after any ice storm. Cold makes metal brittle; the door’s sound should be crisp, not creaky.
- Spring: Check for rust appearing on hinges and the bottom panel after winter humidity sets in. Rattle-test the hinge screws; cold weather loosens them.
- Summer: Check the seal for drying and cracking. High humidity plus heat plus dust is hard on rubber.
Annual
Book a professional tune-up once a year, ideally in fall before the cold sets in. A full tune-up covers spring tension, balance, hardware torque, opener adjustment, and a full visual inspection of every moving part. If your door is older or has had any prior spring work, have it checked twice a year. Beyond basic checks, this is also the moment to consider what kind of garage door repair the year’s wear has racked up before it becomes an emergency.
Opener Checks Worth Doing Every Season
Your opener has its own maintenance needs, and they don’t overlap much with the door’s. Every season, do a quick round of checks:
- Listen to the opener motor when the door opens. It should sound smooth and consistent, not strained. A grunting or grinding sound usually means the drive chain or rail needs attention.
- Check the wall button and remote for consistent response. If the remote works from inside but not from your driveway, the receiver or antenna might need attention.
- Look at the safety sensor LEDs near the floor. On LiftMaster and Chamberlain openers, a solid green light usually means the sensors are aligned and seeing each other. A blinking light means they’ve lost alignment or one is blocked.
- Check the battery in any battery backup system, especially if you have one of the newer Wi-Fi-enabled openers. In a Polaris winter, an opener with a dead backup won’t help when the power goes out.
Opener problems we see most often involve force settings that drift over time and sensors that lose alignment when someone bumps the track. If your opener is acting up, the right move is usually a garage door opener repair from a technician who knows the brand. Different manufacturers use different safety logic, and what applies to a Genie doesn’t always apply to a LiftMaster.
Sounds, Feels, and Smells: The Sensory Warning Chart
A technician’s ear is trained to pick up patterns that a homeowner hears but doesn’t know how to interpret. Here’s what we listen for.
- A single sharp pop at the top of travel: Usually spring-related. If it’s new, get it checked.
- A grinding sound from the opener: Drive chain, gear, or rail issue. Common in openers over 10 years old.
- A rattling, loose metallic sound: Loose hinge screws or worn roller stems. Cheap to fix early.
- A scraping sound at the bottom of the door: The bottom seal dragging, or the door out of alignment.
- Uneven lift or a visible twist: Springs out of balance. Stop using the door.
- A burning smell near the opener: Motor or capacitor issue. Turn the opener off at the wall and call for service.
- A sagging or soft-feeling section of the door: Panel damage or a broken hinge. Not dangerous if caught early, dangerous if not.
If a sound is new, that alone is a signal. Doors don’t usually get quieter as they age; they get noisier when something is loosening or wearing.
Common Mistakes to Avoid
- Pulling the emergency release on a door with a broken spring. This can send the door slamming down with force. If you suspect a broken spring, don’t touch the release cord; leave it closed.
- Using WD-40 as a lubricant on hinges and rollers. It displaces water for a few days and then dries out. Use a proper spray lubricant instead.
- Ignoring a small gap in the bottom seal until winter. In Polaris, a gap that seems minor in October becomes a frozen draft in January. Replace the seal before the freeze.
- Adjusting the opener’s force setting to compensate for a heavy door. The force setting is a safety limit, not a workaround. If the door is heavy, the problem is the door, not the opener.
- Letting a technician from a multi-trade contractor touch a torsion spring. Spring work requires brand-specific tools and specific training. A general handyman isn’t the right person for this job.
- Waiting until the door stops working to schedule a tune-up. The tune-up is cheaper than the emergency. A $150 check catches what a $600 call can’t prevent after the fact.
- Skipping the annual fall tune-up because “it sounds fine.” Fall is when the door needs a check most in Polaris, because it’s the last chance before freezing weather stresses every moving part.
See the difference
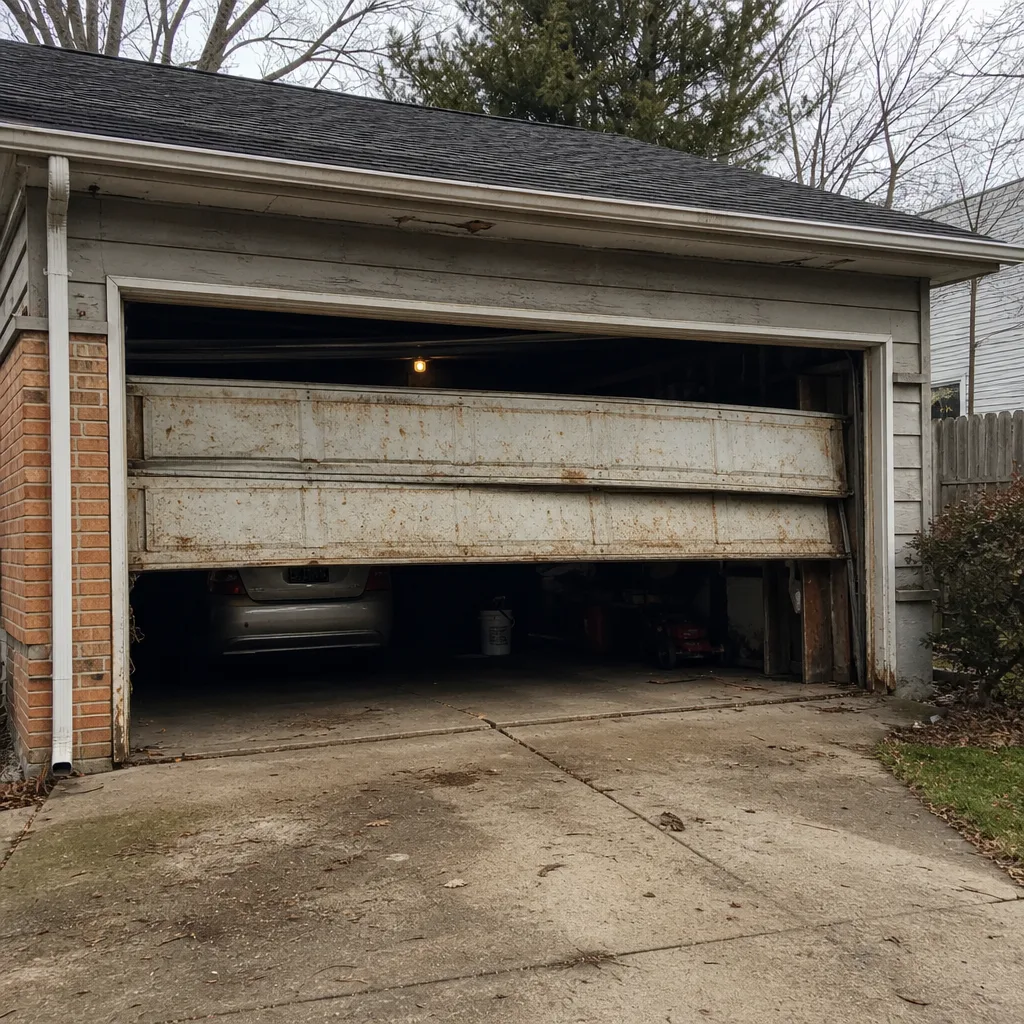 Before
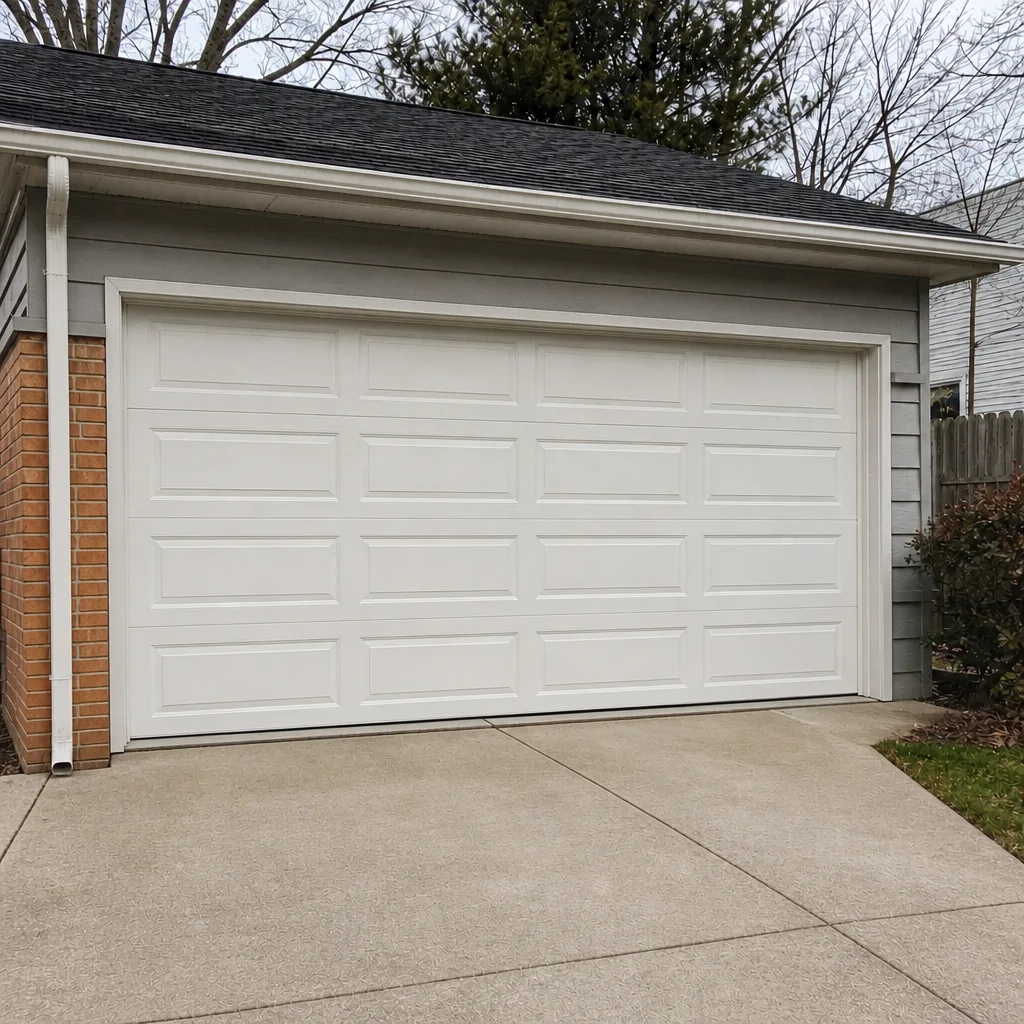 After
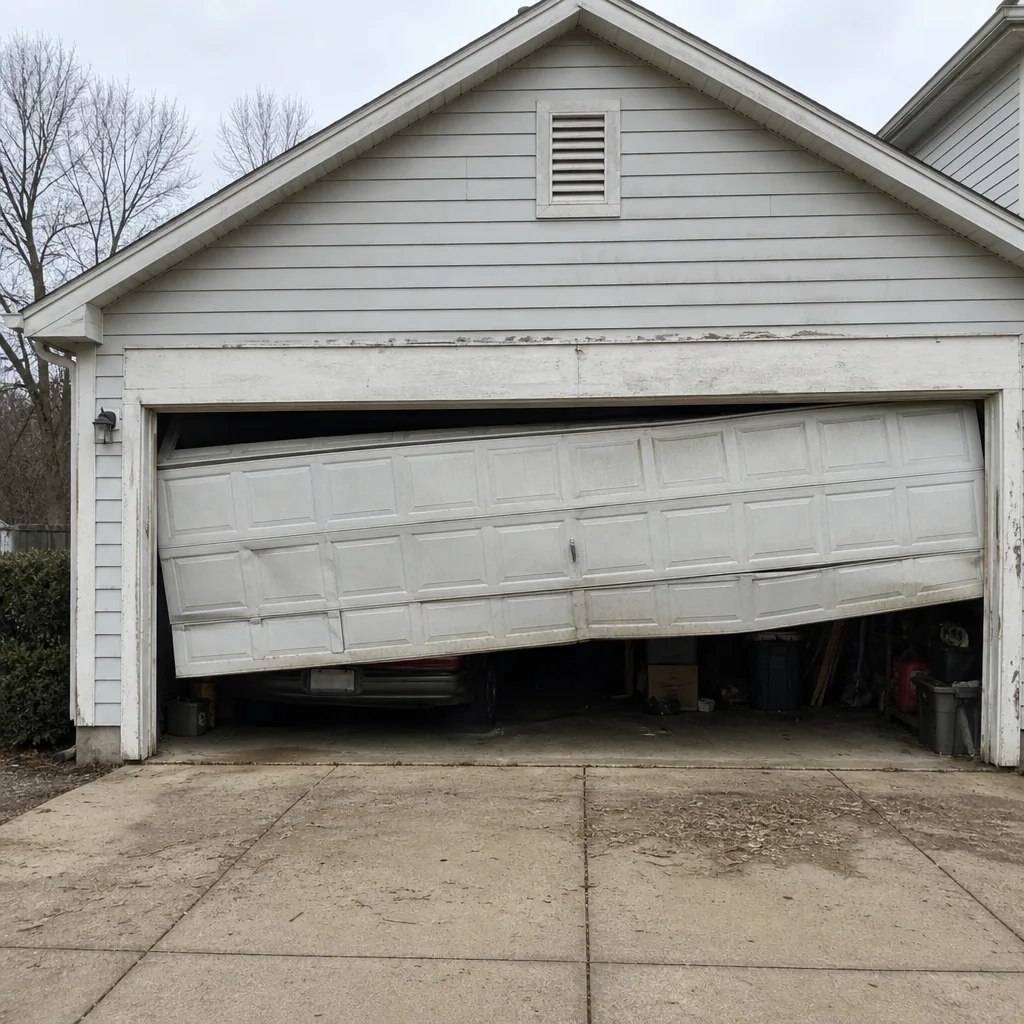 Before
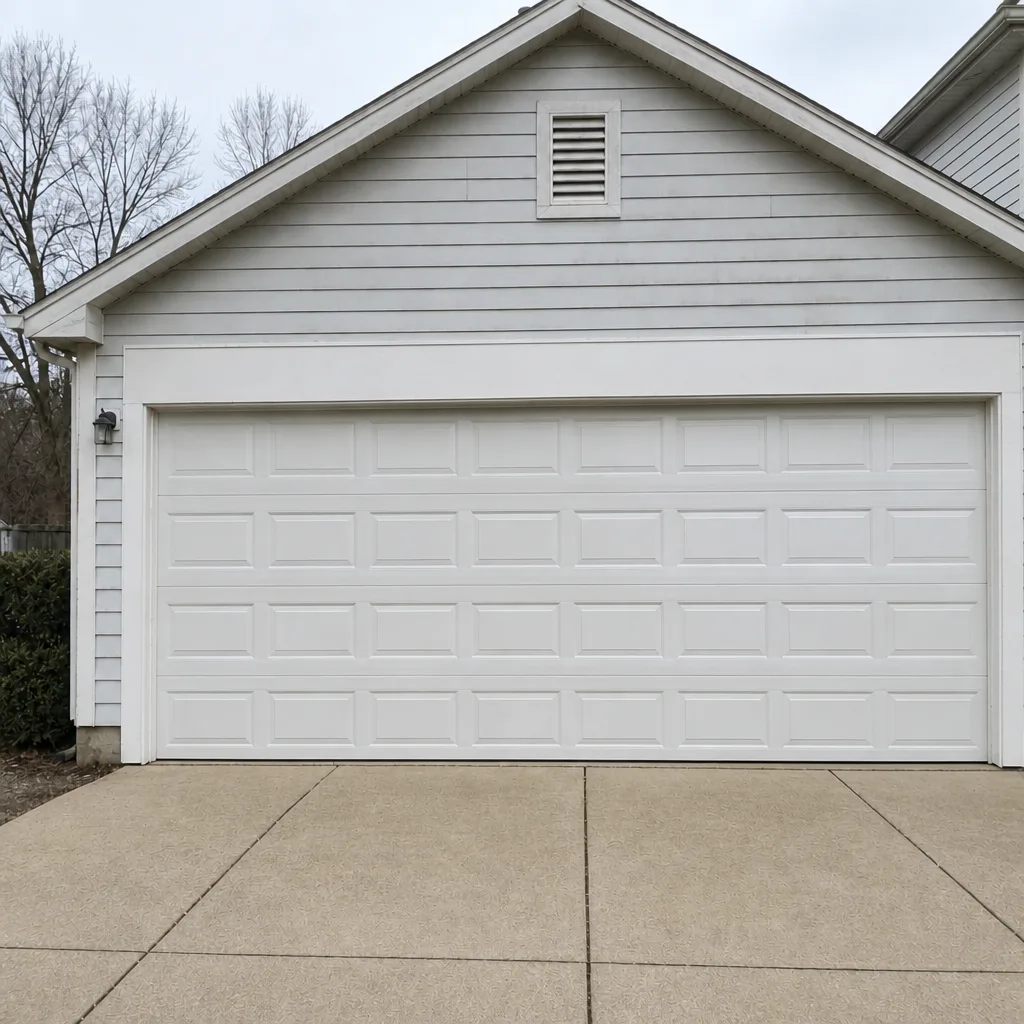 After
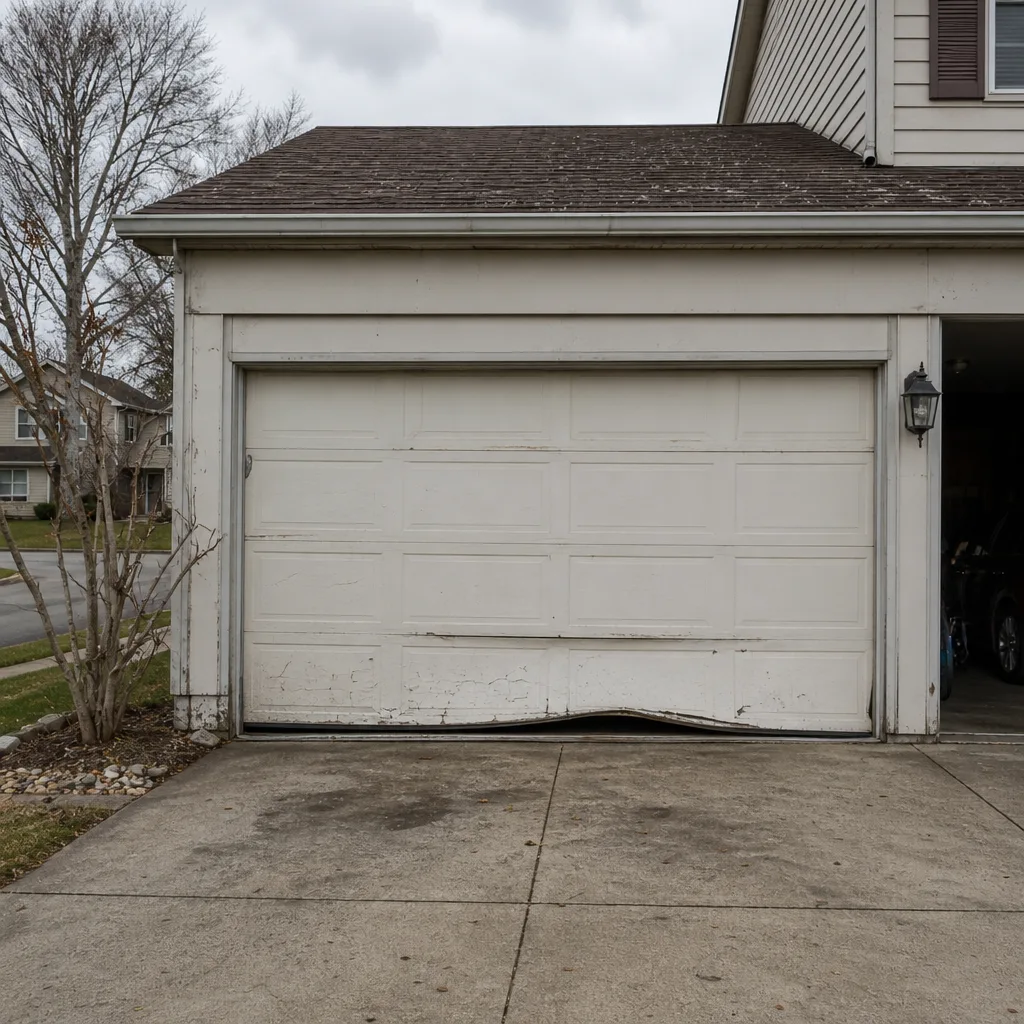 Before
 After
When to Call a Professional
Some checks are DIY; some should stop the door until a professional has looked at it. Call us if you notice any of these:
- A torsion spring with a visible gap or a snapping sound that repeats
- Uneven lift, twisting, or a door that won’t stay half open
- Auto-reverse failing the safety test
- Broken or frayed cables
- Opener grinding or failing to move the door
- A door that’s been damaged in an impact (car, ladder, storm debris)
- Any spring, cable, or high-tension component that looks wrong
If you’re unsure, call and describe what you see or hear. Garage Door Repair Polaris offers free estimates in Polaris. Call (833) 842-9208 and describe what you’ve noticed; we can tell you whether it’s safe to keep using the door until a technician arrives. Our technicians have up to 11 years of experience, and every one of them works exclusively on garage doors, so the diagnosis you get is from a specialist.
Frequently Asked Questions
Once a year for most doors, ideally in fall before the cold sets in. If your door is older, has had prior spring work, or you use it as your main entry point, twice a year is better. Annual service catches wear that monthly checks can’t see from the outside.
A failing torsion spring either shows visible gaps between the coils or has visible rust streaks along the length of the coil. In some cases the spring is already broken and hanging slack. If you see either, stop using the door and call for service.
Yes, for the bottom seal. If the bill slides out freely at any point along the door’s width, you have a gap. It’s a fast, cheap way to check the seal without special tools. In Polaris winters, catching a gap in fall saves you a cold garage all season.
You can apply a light spray lubricant to the exterior of the coiled steel, but never touch the winding cones or attempt to adjust tension. The spring itself is under extreme tension. If the coil looks loose, gapped, or broken, call a professional and don’t touch it.
No. We quote the job before any work starts, and the written quote is the price. If the door reveals something we couldn’t see at the initial inspection, we’ll explain what changed and quote it before anything gets done.
Yes. Our technicians are trained on the dominant brands including LiftMaster, Chamberlain, Genie, and Craftsman, plus older legacy systems. If your opener has been giving you trouble, call us and we can tell you what’s likely going on.
It depends on which parts are failing. A door with a broken spring but solid panels and hinges usually makes sense to repair. A door with structural panel damage, extensive rust, or repeated hardware failures is often a good candidate for replacement. We’ll walk you through both options before you commit to either.
What should I do if my door won’t open at all?
Check the opener first: is it plugged in, and does the wall button work? Then check the safety sensor LEDs. If the sensors are misaligned or blocked, the door will refuse to close. If the opener responds but the door doesn’t move, don’t force it. Call (833) 842-9208 and we can help diagnose. The right fix is usually an on-site garage door repair, not a workaround.
The Bottom Line
Most garage door problems in Polaris give you weeks of warning. A slight gap in the coil. A heavier lift. A louder pop. A bottom seal that slides a dollar bill out without resistance. Those small signs are the checklist. If you catch them early, the fix is a tune-up. If you ignore them, you’re waiting for the door to stop working before you even know something was wrong. Run the monthly tests, book the annual tune-up, and call when something changes. That’s the whole checklist, and it’s the one we give every Polaris homeowner we work with.
When the door needs a specialist, call (833) 842-9208. We work on LiftMaster, Chamberlain, Genie, Clopay, Amarr, Wayne Dalton, Craftsman, and Raynor equipment, we handle garage door opener repair across both smart and legacy systems, and we handle garage door installation from first measurement through the final check. For more than 11 years, our technicians have worked on all of these brands, so the diagnosis you get reflects the hardware you actually own.
Written by the team at Garage Door Repair Polaris.